
Minecraft can be played solo or with friends, however playing with friends is much more fun as you’re able to collaborate on building and surviving. This is where servers come in. Servers allow you to host a game for other people to join, either with or without mods installed. Mods are add-ons that change the gameplay, usually adding new items or blocks. Creating a server can be tricky, so it’s best to use a server hosting provider (Iceline Hosting, etc) that set up your Minecraft server for you.
In this blog, we’ll be going over how to create your own Minecraft server along with outlining the requirements to make the experience as smooth as possible for you and your friends.
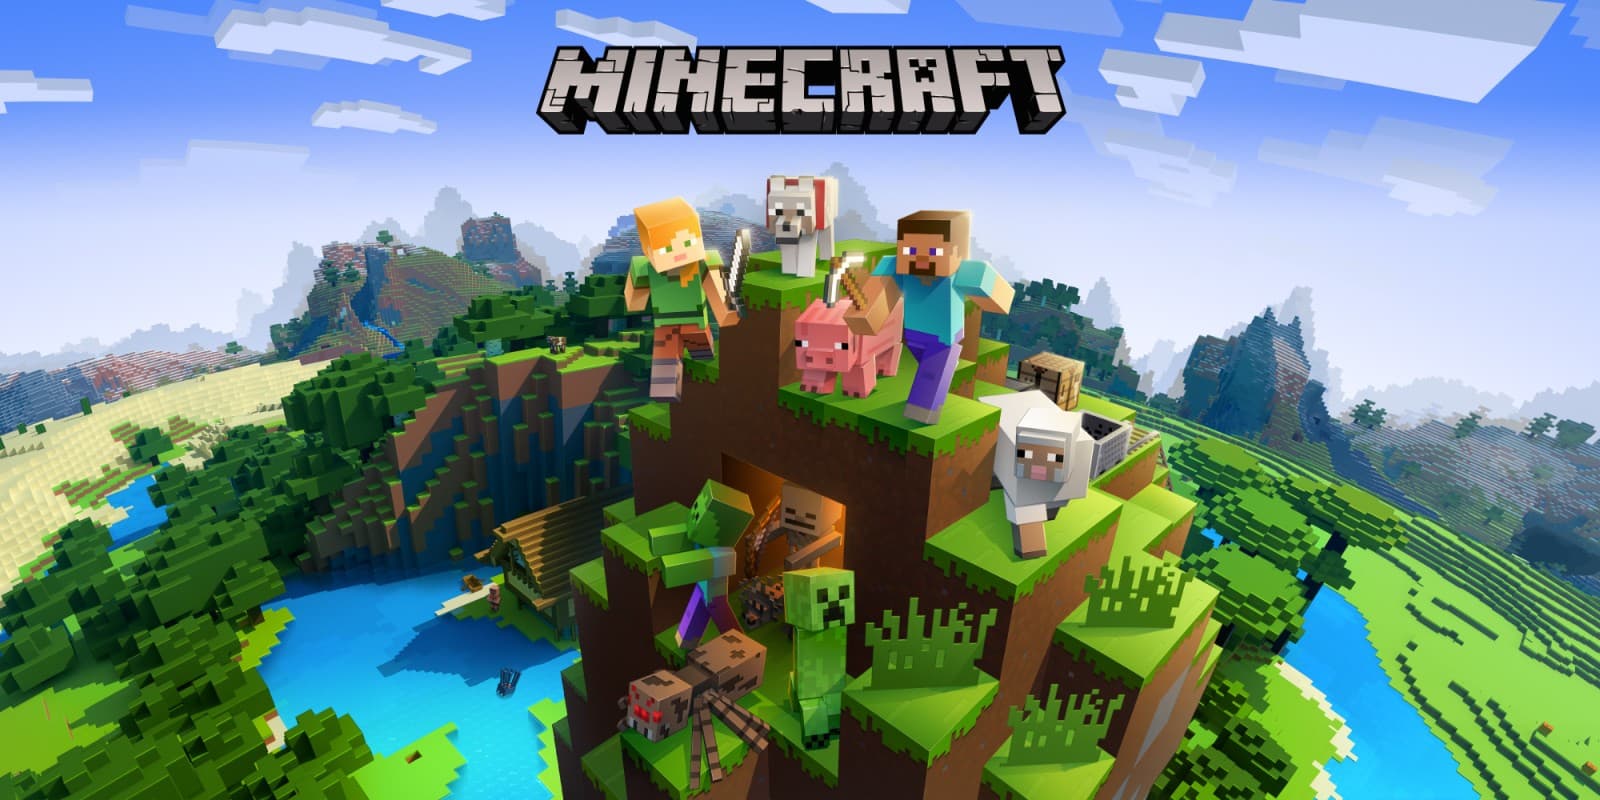
What is Minecraft?
Minecraft is a block-based sandbox game that was first released in 2009. It has become incredibly popular, with over 120 million copies sold. The premise of the game is simple – you are placed in a world made of blocks and can mine and build whatever you like. However, there is much more to Minecraft than just building. The game also includes survival mode, where you must gather resources to stay alive, and creative mode, where you have unlimited resources and no health bar.
Check out our blog Minecraft – The Game That Keeps Growing where we discuss why Minecraft is still popular after over 10 years since it was released.
What is a Minecraft Server?
A Minecraft server is a computer or server that hosts a copy of the Minecraft game, enabling players to play the game with or without other people. Servers can be used for a variety of purposes, such as playing multiplayer games, hosting mini-games or mods, or simply having a world to yourself. Creating a Minecraft server allows you to take control of your gaming experience, giving you more freedom and flexibility than playing on a public server. You’re able to decide how you want to play the game, who you want to play with, and what rules you want to enforce.
Minecraft servers can be operated on a variety of platforms, including Windows, Mac, and Linux computers, as well as dedicated servers that are rented from Minecraft server hosting providers (such as Iceline Hosting). The process of setting up a server is relatively easy – all you need is the game client and some basic computer knowledge. However, running a server requires a bit of maintenance, such as ensuring the server stays up to date and monitoring for issues.
If you’re interested in running your own Minecraft server, there are a few things you should know first. In this article, we’ll discuss the process of setting up a Minecraft server, the different types of servers available, and how to configure your server. We’ll also cover some of the basics of server maintenance, so you can ensure your server runs smoothly.

START YOUR MINECRAFT SERVER HOSTING TODAY WITH ICELINE HOSTING
Hardware & Software Requirements
To host a Minecraft server on your PC/server will need to meet certain requirements, both hardware and software.
Hardware Requirements:
The best Minecraft server specs have been outlined in another blog. We’ll list them here to make things easier.
- CPU: AMD Ryzen 5800X/3800X
- RAM: 4GB
- Storage: 25GB NVMe SSD
We recommend the hardware specs above to provide you with the best performance when hosting a server; however, any modern PC/server that meets the minimum requirements for Minecraft should be able to run a server without issue.
Depending on the number of players and mods on your server, the hardware requirements may differ. You’ll also need a stable network with high upload/download speeds to be able to support your server.
Software Requirements:
In addition to hardware requirements, you’ll also need to install software in order to host a Minecraft server. The following software is required:
- Java 8: You can download Java here
- Minecraft Server: You can download the Minecraft server software here
- Windows or Linux Operating System (Ubuntu Recommended)
Server Version/Modpack
When creating a Minecraft server you will also need to decide whether you want your server to be vanilla, or modded. Modded can include plugins or modpacks. Plugin servers are servers that have a few specific mods installed to change gameplay, while modpack servers are servers that have a variety of mods installed. If you’re not sure which one to choose, take a look at our Top 10 Minecraft Plugins and Best Modpacks.
If you are hosting the server locally, you’ll need to upload your mods and plugins manually via the server files. If your server is hosted at Iceline Hosting, you can use our plugin and version installer:


Most Minecraft servers utilize Spigot, Forge, or Paper.
What is Spigot?

Spigot is a modified version of Minecraft which allows you to install plugins to change the gameplay experience. This can make your game more fun or add new features. Spigot is also optimized for multiplayer servers, making it the perfect choice for hosting a server with your friends. Spigot has been used to create awesome servers with different game modes such as Factions, Prison Break, MCMMO, and more! You can download Spigot at spigotmc.org.
What is Forge?

Forge is a modding API (Application Programming Interface) for Minecraft. Forge was created to make mods easier to create and install. Forge also provides modders with a wide variety of tools to make their mods more powerful. Forge is the most popular modding API for Minecraft, and it’s used by millions of people all over the world. Forge is constantly updated with new features and bug fixes, and it’s always getting better. If you’re a Minecraft player, Forge is a must-have. So what are you waiting for? Download Forge today!
What is Paper?

PaperMC is the next generation of Minecraft servers, compatible with Spigot plugins, offering uncompromising performance. PaperMC is Forge-based, and Forge allows for a much higher degree of flexibility and customization. Mods that are popular on servers include things like Lucky Blocks, Parkour Maps, and Minigames. PaperMC offers support for all of these mods and more, out of the box. In addition, because PaperMC is Forge-based, it is possible to create your own mods and plugins for the server, giving you unparalleled control over the game experience. Best of all, PaperMC is free and open source. There are many reasons why PaperMC should be your go-to server solution. Forge compatibility, performance, flexibility, and community are just a few of them. Download PaperMC today and see what you’ve been missing.
Initial Steps
Once you have selected your server version, you will then need to accept EULA.
EULA can be accepted by changing “eula=false” to “eula=true” in the “eula.txt” file found within the game server files. Alternatively, you can just press “Accept” in the console when starting your Minecraft server with Iceline Hosting.
You will also need to find and copy your server IP. If your server is hosted locally it will be your public IP address. If your server is hosted remotely or at Iceline Hosting, it will be the IP of your server.
Connecting to Your Server
Once you have located your Minecraft server IP it’s time to connect! Open up the Minecraft client, click “Multiplayer”, then click “Add Server”. Here you can paste the server IP which you copied previously. Once done, you can then connect!

An IP address isn’t the easiest to remember which is why you may opt into having a subdomain name for your Minecraft server. A subdomain is a domain name that forwards to your Minecraft server IP. A domain can be purchased through Iceline Hosting. Alternatively, if your server is hosted with us, you can generate a free subdomain from the game panel:

Once you have generated a subdomain, you’ll be able to connect with it within the Minecraft client.

Configuring Your Minecraft Server
Once you have successfully connected to your Minecraft server and verified it’s working, it’s time to start configuring! The initial configuration may include changing the world size/seed, player amount, opping players, etc.
Changing Server Properties
To change the majority of the server variables you will need to edit the server.properties. This can be found in the root directory of your game server files. There are many server variables that you can modify from within this file, make sure you understand what you are changing before doing so as you can break your server. When editing the file, make sure to turn off your server first, once changes have been made feel free to start your server back up.

Opping Players
Opping a player on your Minecraft server allows you to provide players with permissions to perform specific in-game actions. Many of these actions include commands which are administrative allowing them to change their game mode, kick players, ban players, and more.
Follow the instructions below to OP a player:
- Head to your server console and make sure the server is switched on
- Type “op yourusernamehere”. For example: “op LiamIceline”.
- If this has been completed correctly, you’ll see a message in the console saying the player has been opped.
- The player can test if they have been opped by typing “/gamemode 1”
You can modify the permission level of opped players within the server.properties.
If you are stuck in any way or need further guidance, check out our tutorial What is a Server Operator.
Uploading A World
At this point, you may also be interested in uploading a world that you may have saved previously, or a world that you have downloaded online.
Follow the instructions below to upload a world:
- Navigate to your Minecraft server files
- Find your world, and drag your world folder into the Minecraft server files
- If your world folder has a different name than the default name (“world”), you’ll need to change the level-name in the server.properties
- Reboot the server
If you are stuck, check out our tutorial How to Upload a World. You may also be interested in our Top 10 Minecraft Maps if you are looking for a unique world to add to your server.
Setup a Whitelist
If you are interested in hosting a private Minecraft server where only specific players can join who you’ve allowed, then setting up a whitelist is for you.
- Go to your server console
- Type “whitelist on”
- To add a player to the whitelist, type: “whitelist add playernamehere”
- The player will be able to connect
Are you stuck? Check out our tutorial on How to Whitelist a Player.
Conclusion
There are a ton of other configuration edits you can make, but we have covered the basics to get you started. Be sure to experiment with the different settings and find what works best for you and your players.
Managing Your Minecraft Server
Installing and configuring your server aren’t the only tasks you need to complete. Managing your server is also another task that will be ongoing. Thankfully for you, here at Iceline Hosting, we make managing your Minecraft server incredibly easy. The majority of your Minecraft server management will include monitoring your server’s performance along with player management. However, you may need to manage other factors including DDoS attacks, backups, and more. At Iceline Hosting we take care of those other factors for you, ensuring your server doesn’t go offline due to DDoS and maintaining daily backups.
Monitoring Server Performance
You will need to monitor your server’s performance on a regular basis to ensure your server has the correct specifications to support the players and mods/plugins on your server. Monitoring server performance outside Iceline Hosting can be tricky as you’ll need to use certain tools which you may be unfamiliar with. Here at Iceline, we provide you with all the necessary performance monitoring tools from within our custom game panel. From the console page, you can monitor CPU, RAM, and Disk usage:

We’re implementing further performance monitoring tools which include Network usage and previous usage (7 days, 30 days, etc).
If you notice usage is too high (CPU 100% or RAM usage full), it’s likely due to the following things:
- Outdated plugins/mods
- Need more RAM to support amount of players/plugins/mods
- Server may require restart (do you have scheduled restarts setup?)
Configuring Backups
Creating regular backups of your Minecraft server is incredibly important if you don’t want to lose your progress. There are numerous reasons why you may want to create these backups:
- Accidental deletion of files or worlds
- Server crashes
- Players deleting your data / griefing your world
In this article, we’ll show you how to create backups of your Minecraft server using a variety of different methods. If you are self-hosting your Minecraft server you’ll need to use a third-party tool such as Cobian Backup or FileFort Backup.
If you are hosting your Minecraft server with Iceline Hosting, creating regular backups is easy. With the Iceline Game Panel, you automatically have 10GB of free cloud backup storage, you can pay for additional space if you wish. You can create a backup by clicking “Create a backup”. Your backup will then be created and stored on our Iceline Cloud.

You can automate backups and also configure the backup retention. This allows for automatic deletion of backups older than X. You can restore a backup at any time by selecting the backup and clicking “Restore”.
Configure Schedules
You may wish to create schedules to automate specific tasks such as server reboot, creating a backup, send a command. You can schedule these tasks with third-party software if hosting self-hosting the Minecraft server such as Windows Task Scheduler or RoboTask. However, if you are using Iceline Hosting you can configure schedules from the Iceline Game Panel.


Once a server schedule has been configured correctly, you will be able to check the status of the schedule along with the next scheduled time.

You can add numerous tasks under the same scheduled time. For example, you can send a command to say the server is rebooting, then perform the reboot.
Checking Server Logs
There are numerous servers logs at your disposal to allow you to diagnose and troubleshoot issues along with identifying which tasks were performed by who. When self-hosting a Minecraft server you are limited to the server logs which are produced by the server. These can be found by navigating the server files and going to the “Logs” folder. You can then download the log files and review them.
With the Iceline Game Panel, you have additional “logs” available for you. These logs allow you to see which tasks were performed when and by who.

Reinstalling Your Minecraft Server
You may wish to reinstall your Minecraft server if you want to start from fresh. You can reinstall a Minecraft server by deleting all the files except the .JAR file. This will regenerate the server files when the server has been rebooted. If using the Iceline Game Panel, you can reinstall the server from under the “Settings” tab.

Minecraft Server Support
When purchasing Minecraft hosting from Iceline Hosting, you get access to our support. Our support team will assist you with issues you are facing with your Minecraft game server.
How to Contact Support?
You can contact our support team by creating a ticket here. We will get back to you as soon as possible.
Providing Staff Access
If you have opened a ticket and have been requested to accept a staff request to your Minecraft server, you will need to accept to allow us to diagnose and troubleshoot any issues you are having. You can accept a staff request by going to the Iceline Game Panel and going to the “Staff Requests” tab.

How to Upgrade/Downgrade?
Upgrades/downgrades can be made at any time, if you need to upgrade/downgrade your Minecraft server plan you can do this within Iceline Billing. The upgrade/downgrade process will take place straight away (depending on if the invoice is paid). Your server will need to be rebooted for the process to be completed.
That’s It!
We have covered everything you need to know when creating your own Minecraft server which is either self-hosted or hosted by a provider. Make sure to check out our other tutorials which can be found here.