We Explain How to Make a Modded Minecraft Server
Iceline Hosting
October 15, 2024 • 5 min read
Want to customize your Minecraft experience? A modded server is the perfect solution! With Iceline Hosting, you can follow our simple guide to set up a server tailored to your preferences.
Whether you want to create a custom-modded world for your friends or build a public server for the Minecraft community, we’ll guide you through each step to get your server up and running.
At Iceline Hosting, we’ve provided reliable, high-performance hosting solutions specifically optimized for modded Minecraft servers. Our servers, featuring NVMe storage and no slot limits, ensure smooth gameplay, even for complex modpacks like RLCraft, Pixelmon, and All The Mods 8.
With our intuitive game panel, users can easily manage plugins, mods, and scheduled tasks to keep servers running efficiently.
A modded Minecraft server is a multiplayer server that runs a modified version of Minecraft. Modded versions come with additional features, gameplay mechanics, and content added through mods (modifications). These mods can change almost any aspect of the game. They can add new items, blocks, creatures, biomes, or even new dimensions and gameplay mechanics.

That being said, here’s how to create a Modded Minecraft server:
Start by visiting Iceline Hosting’s website. If you don’t already have an account, create one and browse through the available Minecraft hosting plans. Select a plan that fits your needs. Ensure you consider factors like the number of mods and players.
Modded servers require more resources, so it's advisable to choose a plan with at least 4GB to 8GB of RAM. After selecting the plan, proceed with the payment to activate your hosting.
Once your account is set up, you will receive access to the Iceline Game Panel, which allows you to manage your Minecraft server.
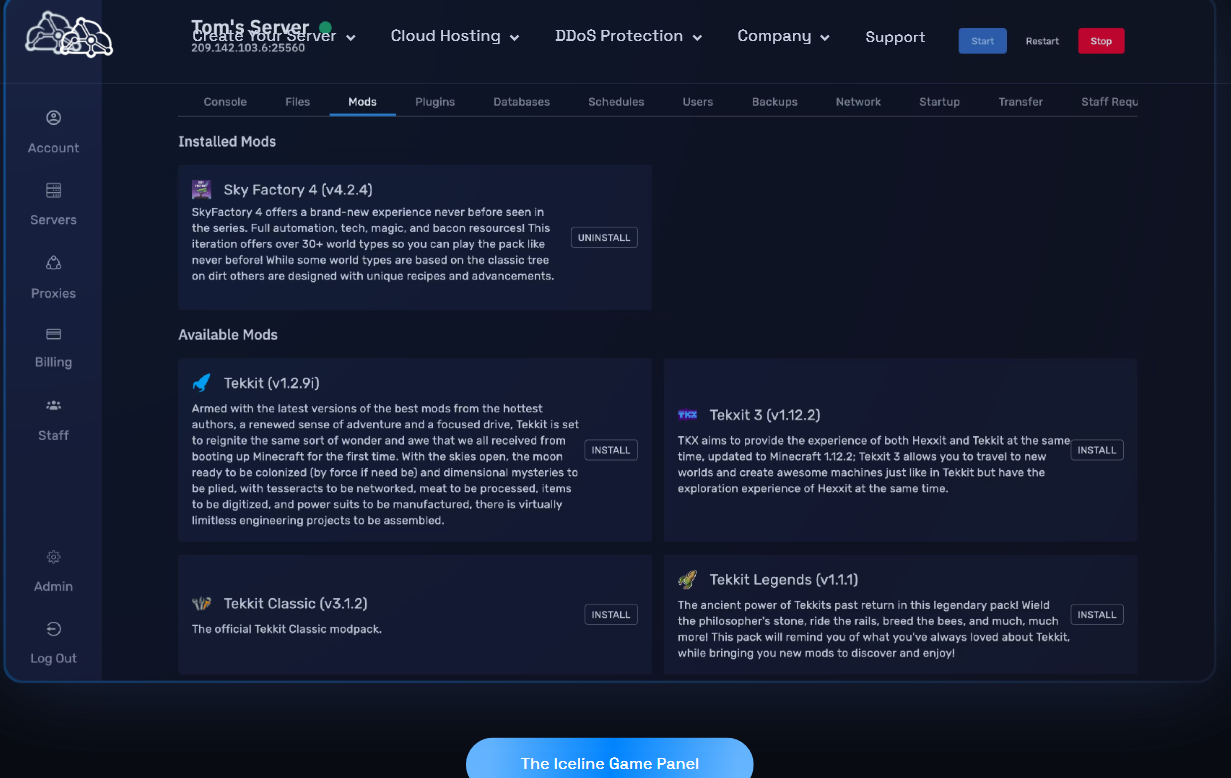
Log in and locate the Minecraft service associated with your hosting plan. This panel will be where you make most changes and configurations to your server.
To install mods, you need a mod loader like Forge or Fabric. In the panel, find the section where you can change the server version. You will see options for modded server versions like Forge and Fabric.

Choose the version that matches the mods you want to use, and install it with just a click. This step ensures your server is ready to run mods.
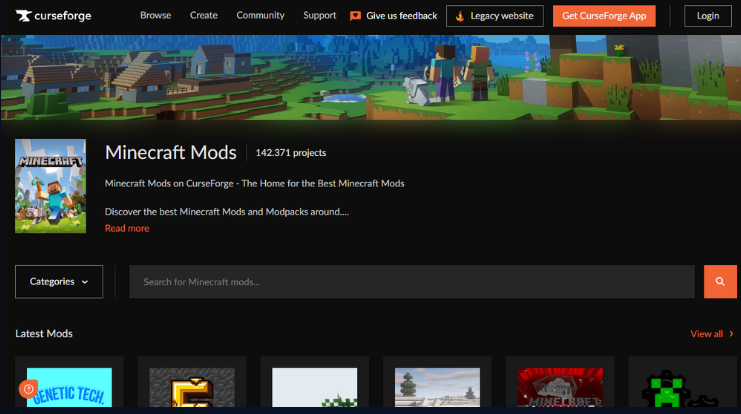
Download the mods you want from sites like CurseForge or Modrinth. In the Iceline Game Panel, go to the File Manager. You will need to upload the mod .jar files to the mods folder in your server’s root directory. Create one if it doesn’t exist already. Make sure that you, and any players joining, have the same mods installed on their Minecraft client.
Next, in the File Manager, locate the server.properties file. This file allows you to adjust key server settings like the game mode, max players, and world type. Make the necessary changes to customize your server experience.
Also, if you’re running many mods, you may need to allocate more RAM to the server. You can do this through the panel.
After uploading the mods and configuring your server, it’s time to start the server. Head back to the Iceline Game Panel and click the "Start" button. Keep an eye on the console logs to ensure that the server starts smoothly and that all mods load correctly. If the server doesn’t start, check the logs for any mod conflicts or errors.
Your server’s IP address will be displayed in the Iceline Game Panel. Share this IP with your friends to join your modded Minecraft server. However, ensure everyone has the same mods installed to avoid compatibility issues when joining.
Once the server is running, you can manage it through the Iceline Game Panel. If needed, you can install additional mods or plugins to add features or improve server management.
Iceline Hosting also provides monitoring tools that help you track server performance, making it easier to manage things like lag or resource usage.
Now that your server is active, ensure you regularly update the mods to ensure compatibility with the latest Minecraft versions. You can update the server version from the game panel by selecting the new version and reinstalling it. Keep in mind that all players need to update their mods as well to stay in sync with the server.
Creating a modded Minecraft server offers room for more customization, plus the freedom to create a unique gaming experience for you and your players. By following the steps outlined in this guide, you can easily bring your modded server to life, complete with the mods and features you want.
Iceline Hosting provides the performance, resources, and support needed to keep your server running smoothly, ensuring the best possible experience for everyone.
Ready to take your Minecraft server to the next level? Sign up with Iceline Hosting today and start building your modded world!